Team & roles
Settings → Users lists everyone with access to your workspace and lets you add, deactivate, or change roles for each person.
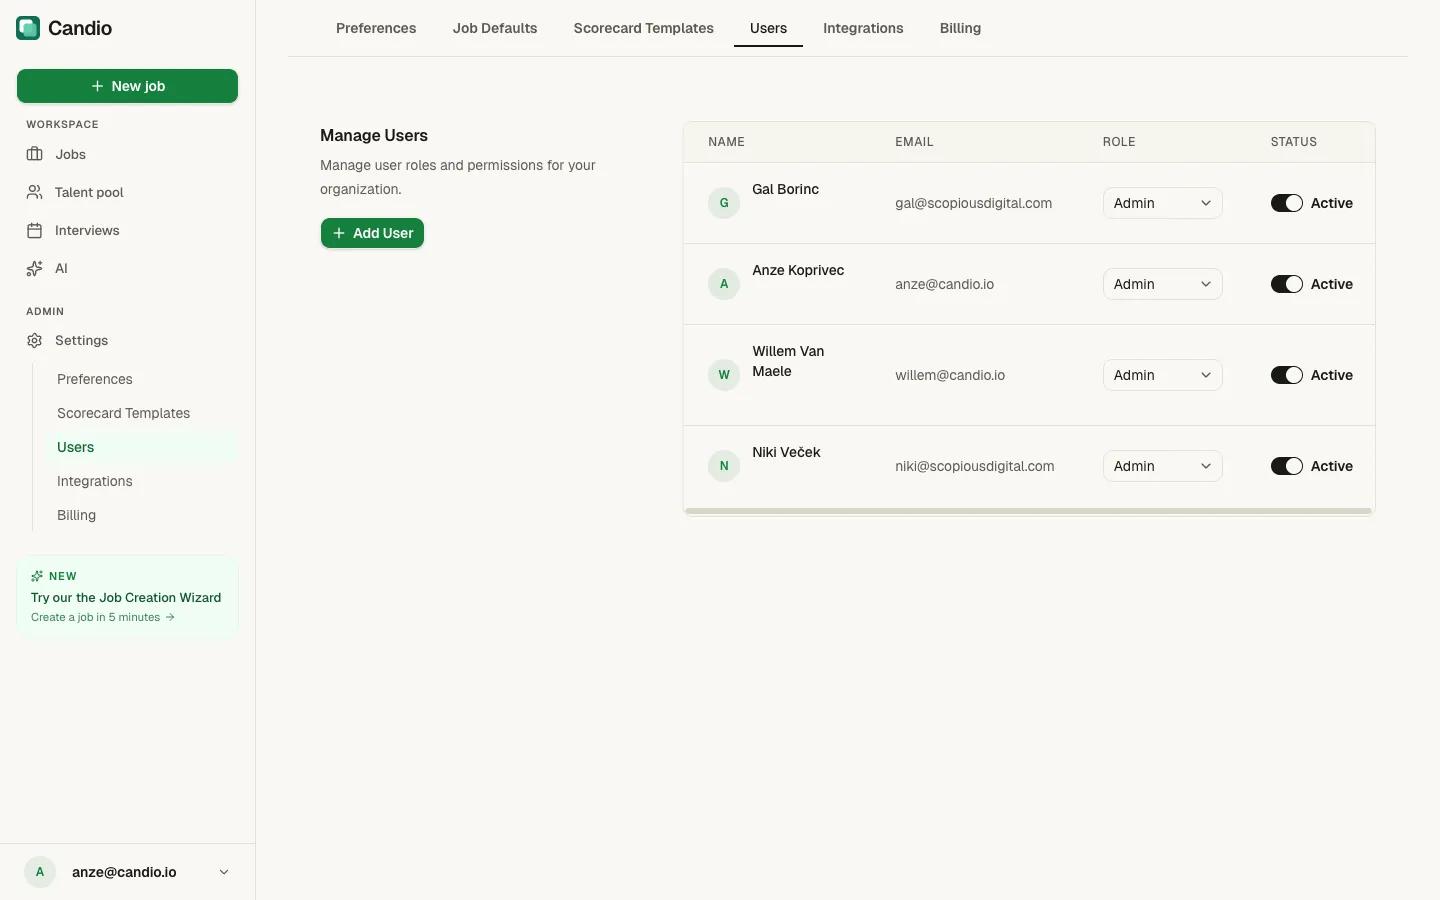
The Users table
Section titled “The Users table”Columns: Name · Email · Role · Status.
Each row has:
- An avatar circle with the user’s initial.
- A Role dropdown — change with one click; takes effect immediately.
- A Status toggle — flip between Active and Inactive to grant or revoke access without deleting the user record.
The + Add User button in the left column adds a new member.
Candio currently has one role:
- Admin — full access to jobs, candidates, scorecards, settings, and billing.
Adding a user
Section titled “Adding a user”- Click + Add User.
- Enter the user’s Name and Email. The email must match exactly what they’ll sign in with.
- Pick the Role (currently just Admin).
- Save.
The user doesn’t get an automatic invite email — share the workspace URL and have them sign in with that email address. Once they complete sign-in, their row flips to Active.
Deactivating vs. removing
Section titled “Deactivating vs. removing”- Deactivate (toggle off) — preserves the user’s history (jobs they own, scorecards they submitted, rejections they authored) while revoking login. Use this for parental leave, sabbaticals, or people who’ve left the company but whose context you want to keep visible.
- Remove (permanently delete) — not exposed in the UI. Contact support if you truly need it. Deactivating handles 95% of cases.
What happens to jobs when a user is deactivated
Section titled “What happens to jobs when a user is deactivated”Deactivating the hiring manager of an open job doesn’t orphan the job — the job’s hiring manager field stays set to that user’s name (greyed out) until you explicitly reassign via Edit wizard → Step 1.04.